In Windows operating systems, it’s possible to change the name of a computer using the built-in command line tool WMIC (Windows Management Instrumentation Command-line). This can be useful in situations where you need to change the name of a computer for inventory management, network identification, or other purposes. In this article, we will go over the steps to change a computer’s name using WMIC in the Command Prompt.
Open the Command Prompt by pressing the Windows key + R, typing “cmd” and pressing Enter.
To change the computer’s name, use the following command:
wmic computersystem where name="CURRENT NAME" call rename name="NEW NAME"
For example, to change a computer’s name from “TestRename” to “NewName-01”, you would use the following command:
wmic computersystem where name="System1" call rename name="NewSystem-02"
The command will return a result code, where 0 means success, 5 means no admin administrative privilege, and other exit codes besides 0 mean failure.
After running the command, you will need to restart your computer to apply the changes.
To check the computer’s new name, type “hostname” in the command prompt and press enter.
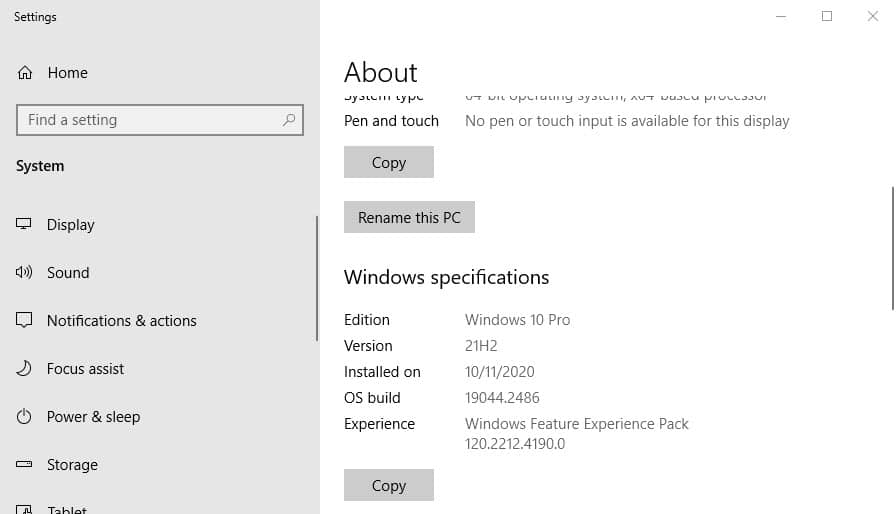
It’s also possible to change the computer name in the GUI, by right-clicking the Start menu, selecting “System” then click on “Rename this PC” in the right corner, this will open the settings where you can change the computer name.
It’s important to note that changing the computer’s name will also change its hostname, which may have implications for network connections and identification.
Changing a computer’s name is a simple process that can be done using WMIC in the Command Prompt. By using the appropriate command and restarting the computer, you can quickly and easily change the name of a computer to suit your needs. Keep in mind that changing the computer’s name also changes its hostname, and you can also change it through the GUI in the System Properties.