Overview
To preserve your computer’s performance and stability, you must keep the hard disk in good shape. Regularly inspecting the disk for mistakes and, if necessary, correcting them is one approach to achieve this. We’ll go through the fundamentals of disk checking in this post, along with all the relevant commands, to help you keep your machine operating efficiently.
What is Disk Check?
Disk Check, often known as chkdsk, is a Windows tool that scans and fixes hard drive issues. It looks for missing files, damaged sectors, and other problems on the hard drive and makes an effort to fix them. Disk check is a crucial component of routine computer maintenance because it can guard against issues like data loss, sluggish performance, and others. Disk check is a vital tool for maintaining the health of your computer. Data loss, sluggish performance, and other issues can be avoided by routinely scanning your hard drive for mistakes and correcting them. The commands for running a disk check through File Explorer, Command Prompt, and the echo command are all discussed in this article along with other relevant commands.
Running Disk Check in Windows
There are two ways to run disk check in Windows: through the File Explorer and through the Command Prompt. Let’s go over each method.
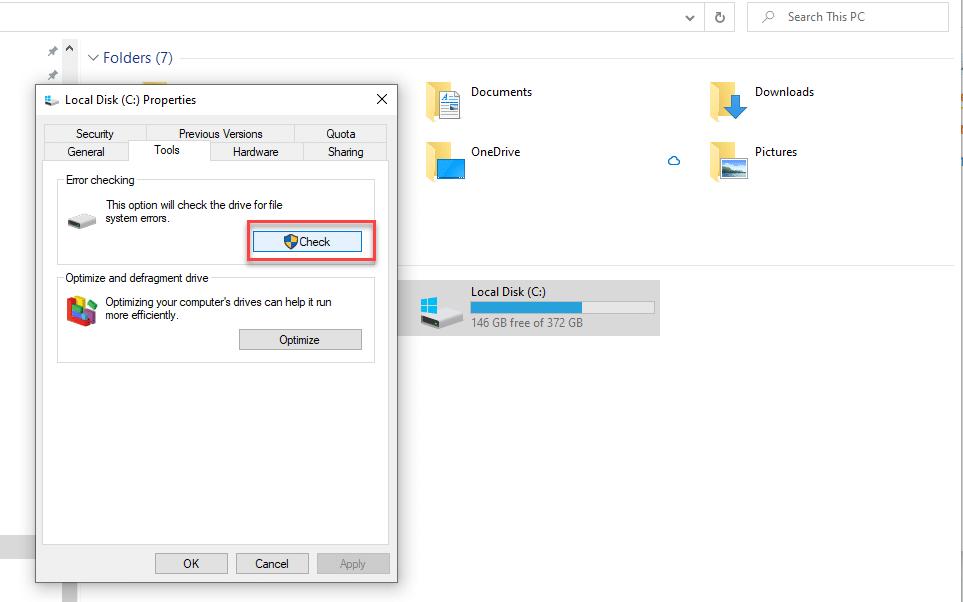
File Explorer Method:
- Right-click on the hard drive you want to check.
- Select Properties from the context menu.
- Click on the Tools tab.
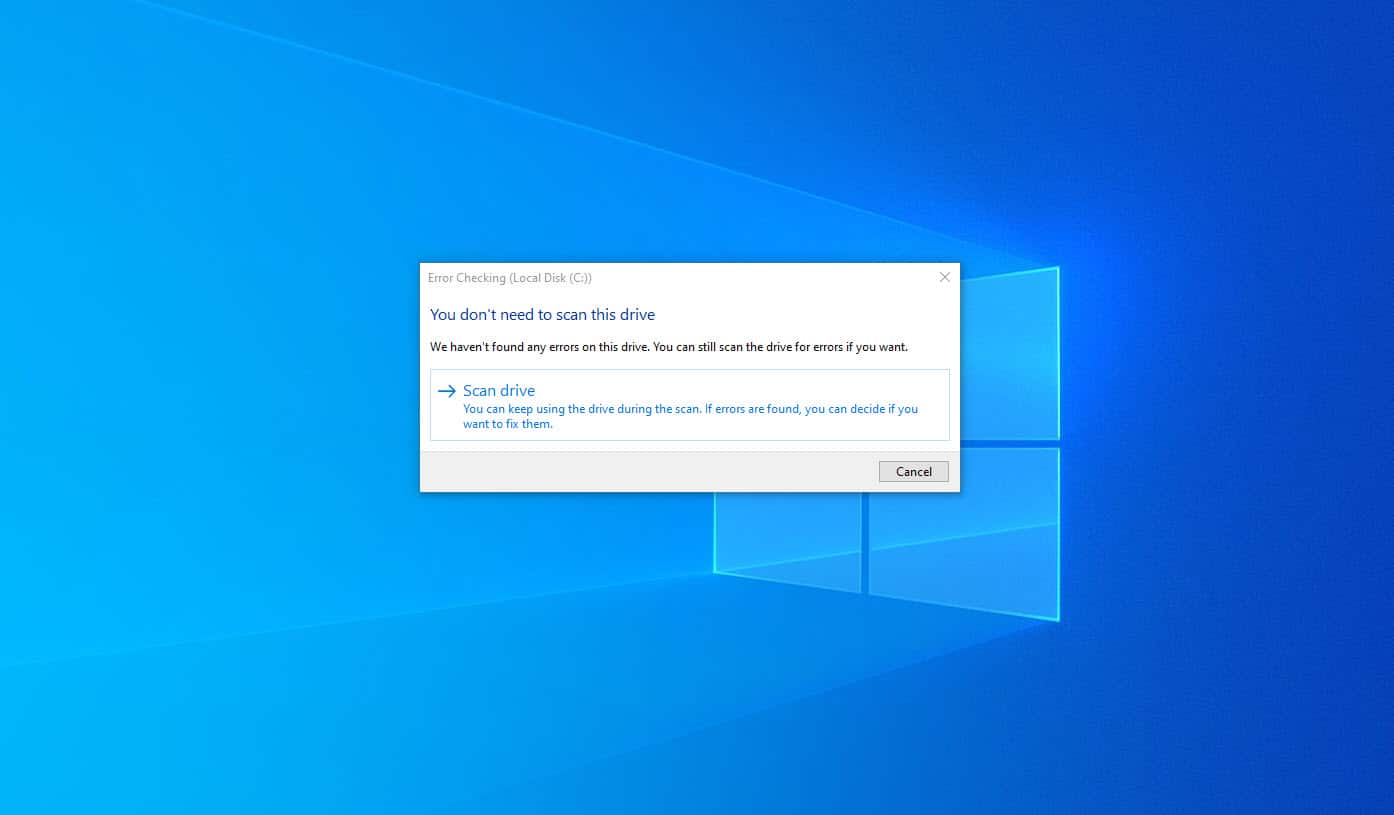
- Under Error checking, click the Check button.
- Windows will then scan the disk and display any errors found.
Command Prompt Method:
- Open the Command Prompt as an administrator.
- Type the following command: chkdsk /f [drive letter]:.
- Replace [drive letter] with the letter of the hard drive you want to check.
- Press Enter to run the command.
- Windows will then scan the disk and display any errors found.
Using the /R Switch with Disk Check
The /R switch is an optional parameter that can be used when running disk check. It stands for recover, and it allows disk check to recover information from bad sectors on the hard drive and move it to a safe location. To run disk check with the /R switch, you can use the following command:
chkdsk /R [drive letter]:Forcing Disk Check on the Next Boot
In some cases, you may need to force disk check to run the next time you boot your computer. To do this, you can use the following command:
chkdsk /f /r [drive letter]:Note that this command requires the computer to restart.
Running Disk Check on the System Drive with the Echo Command
Finally, if you need to run disk check on the system drive, you can use the following command with the echo command:
echo Y | chkdsk /R %systemdrive%This command will automatically answer “Yes” to any prompts during the disk check process.