Manage user accounts, authentication, authorization, and resource access using Microsoft Azure Active Directory (AD), a cloud-based directory and identity management service. You might need to use scripts and automation tools to handle Azure AD as a system administrator or IT specialist. Azure AD can be easily managed thanks to the robust programming language PowerShell.
We’ll concentrate on installing the AzureAD module in PowerShell in this article.
Setting the PSGallery Repository to Trusted:
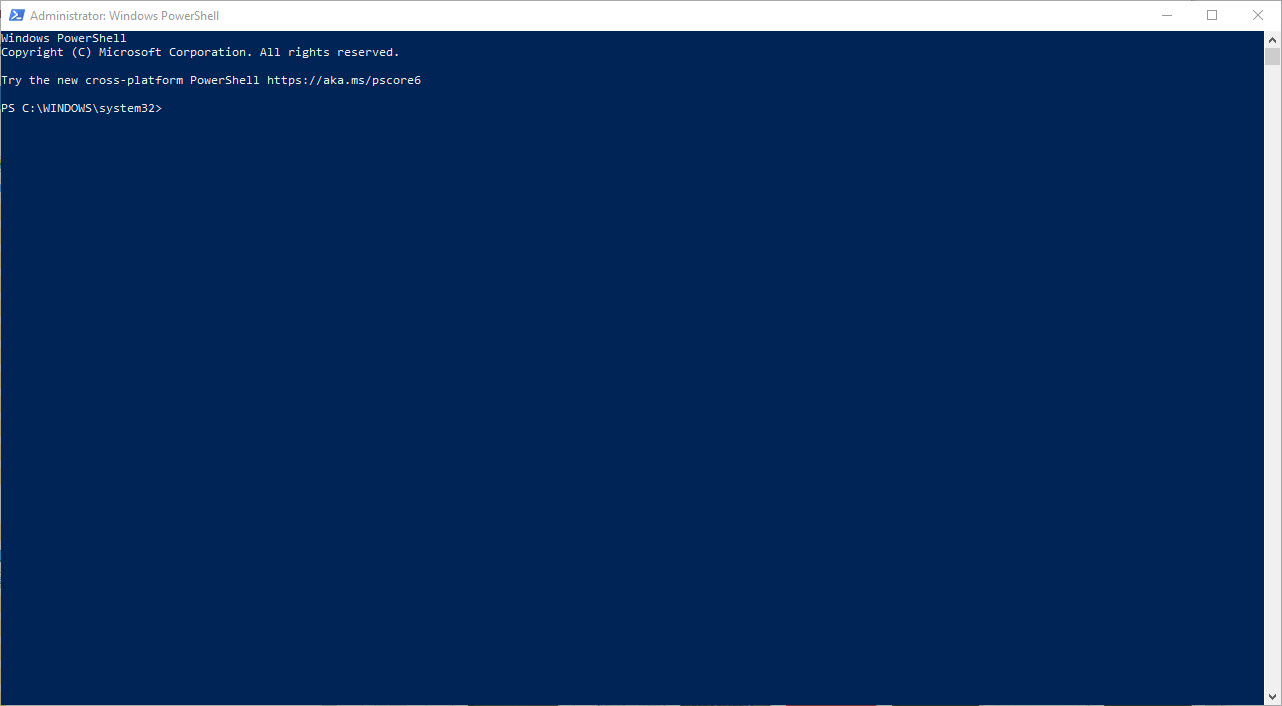
To install the AzureAD module, you must first set the PSGallery repository to a trusted installation policy. This can be done using the following command in PowerShell:
Set-PSRepository -Name "PSGallery" -InstallationPolicy TrustedInstalling the AzureAD Module:
With the PSGallery repository set to a trusted installation policy, you can now install the AzureAD module using the following command:
Install-Module AzureADYou can also use -AllowClobber switch to install the AzureAD module.
Install-Module AzureAD -AllowClobberThe -AllowClobber switch allows you to install the latest version of the AzureAD module, even if it overwrites a previously installed version. This is useful if you want to ensure that you have the latest version of the module installed.
Importing the AzureAD Module:
Once the AzureAD module has been installed, you can import it into your PowerShell session using the following command:
Import-Module -Name AzureADVerifying the Installation:
To verify that the AzureAD module has been installed correctly, you can use the following command:
Get-InstalledModule -Name "AzureAD"This command will display information about the AzureAD module, including its version number and installation path if it’s installed on your system.
To maintain the security of your system after successfully installing the AzureAD module in PowerShell, it is advised to change the PSGallery repository’s installation policy back to untrusted. The PSGallery repository’s installation policy is by default set to untrusted, which requires that you explicitly trust a repository before installing modules from it.
Use the PowerShell command below to return the PSGallery repository to an untrusted installation policy:
Set-PSRepository -Name "PSGallery" -InstallationPolicy unTrustedThis will ensure that only modules from trusted sources are installed on your system, helping to protect your system from malicious software.
Installing the AzureAD module in PowerShell is a straightforward process that enables you to manage Azure AD effectively. By following these simple steps, you can start using PowerShell to manage Azure AD and automate various tasks. Whether you are managing user accounts, authentication, authorization, or access to resources, the AzureAD module provides a convenient way to manage these tasks with ease.


